
Hi Guys,
In my previous post we found out how to create the Azure Active Directory application that is a requirement to the deployment of the Let’s Encrypt extension on your Azure App.
In this part there is more using of the Azure website than PowerShell. But we still have to keep some informations to reuse them in the final Let’s Encrypt setup.

Keep in mind that for your Azure App to be able to handle a SSL Certificat you need to have a certain level of service. When I am writing these lines the required level to handle a SSL certificate is all Service Plan above “Basic”. In my case I needed to update the Service Plan because I was running in a Basic one.
Once you are connected to the Azure website, navigate to the Azure App service panel.
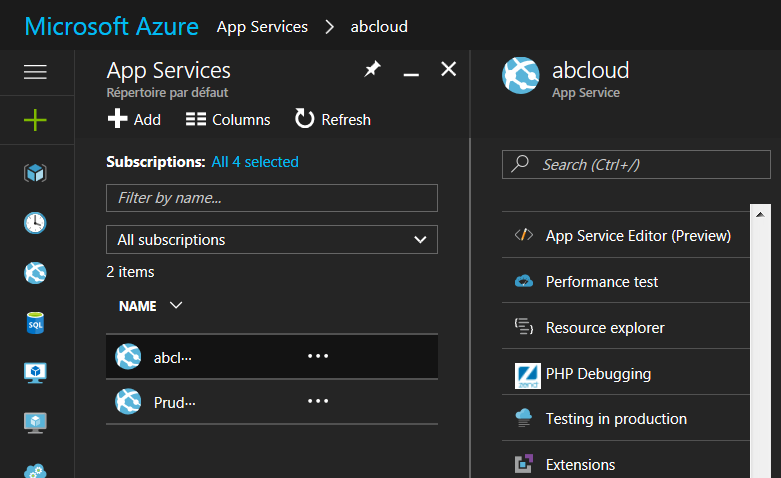
Once in the Azure App service panel, select the Azure Website where you want to add the Let’s Encrypt extension. You can then scroll down to found the “Extension” menu.
In the “Extension” menu you can see a list of existing extensions and you can click on the “Add” button to open the list of available extensions for you website. In the list you will found “Azure Let’s Encrypt (x86)“.
Be careful, at the time I am writing these lines an x64 extension exists and in Global Availability but it does not seems to be working at all. You may not want to install this extension.
Once you found it, selected it, you will be able to click the “Ok” button which will drive you back one step to accept the Legal Terms, proceed with another click on “Ok” button, and you are all set.
You can now browse the Azure Let’s Encrypt page using the “Browse” button, or the URL : https://<your website ID>.scm.azurewebsites.net/letsencrypt/.
In the next posts we will see how to end the setup of Azure Let’s Encrypt to install free SSL certificate for your Azure Website.